Today I'm sharing two more of the 'all die cut' cards I made last month. These were all donated to a local Senior Center so that seniors who use that center but who have transportation limitations could choose card to give to family and friends. Not everyone can just run down to the Hallmark store to buy Christmas cards for their grandkids, :-D
The two cards feature both the positive and the negative of the same die cut Nativity scene (die from Die-namics), which is why I wanted to share them in the same post.
Please take notice of the two sentiments - they are my favorite Christmas sentiments because they both proclaim the basis of Christmas celebrations. We all love the fun Santa and Elf themes, and woodland critters in the snow are a joy, but Christmas and the birth of the Christ Child is what I celebrate, personally, so these are my favorite sentiments. :-D
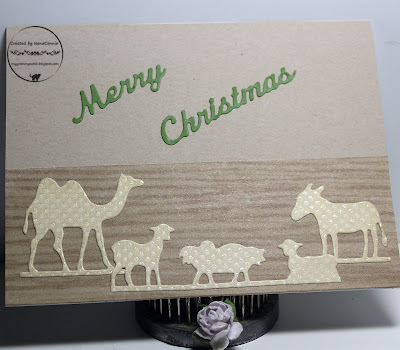
First, the positive:
The Nativity was cut from embossed, glittered CS and
I cut and arranged the pieces so that they would look staggered.
The star shape (which you'll see below) was cut off and used
on a completely different card. In fact, this was cut originally
because I wanted just the star for that other project,
but I didn't want to waste the rest of the cut.
The sentiment on this one is also done with a Die-namics die
and the two background papers are from the scrap pile.
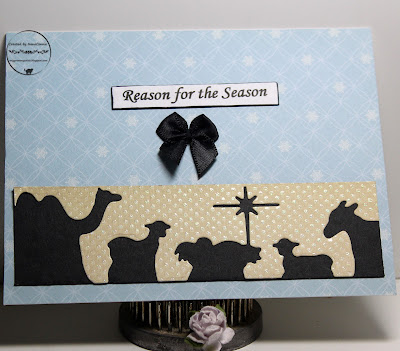
Now, here's the negative:
All I did was to mount the negative onto a piece of
black CS to make it a silhouette, then trimmed it to fit,
and layered it onto a background of patterned dp from DCWV.
Sentiment was printed and cut with an Avery Elle die.
I added one of my signature bows.
Challenges:
Mod Squad