Showing posts with label buttons. Show all posts

Thursday, June 6, 2019

Correspondence School

     We're starting a new challenge at Crafting with an Attitude for this month and our sponsor is the wonderful Bugaboo Stamps.  I used this clever Stella Calendar June image and sentiment but I reversed Stella, side to side.


     Here are the tools and supplies used:
ProMarkers
Copics
White gel inks
Sparkle gel ink (glasses)
QuicKutz rectangle die
Couture Creations embossing folder on metallic paper
Distressing & curled corners
Hand sewn bow with button

     Challenges:
A Bit More Time to Craft
CCC Digi Creations
Classic DT Open
Craft-Dee BowZ
Crafter's Cafe
Craft's Galore Encore
Digi Doodle Studio
Friendship
Your Scrapbook Place

     That's all I have until tomorrow.  Happy Crafting.  NanaConnie

Wednesday, March 13, 2019

Yellow Easter Rose

     I absolutely love the vintage feel of this card and I know exactly who's going to get it for Easter.  I have one friend in particular who adores anything vintage and this will be perfect for her.  She also loves yellow roses so, of course, that was the color I chose for the main focal point.


     I printed the image in gray scale, then colored it with ProMarkers.  I printed the sentiment and cut both image and sentiment with Unbranded, oval, dies.  I found a strip of scrap lace, trimmed it to size, and added it to the left edge of the card front.

     I used one of my signature, hand-sewn bows, which I 'dyed' yellow to match the main rose, then added a tiny button.

      Challenges:
Crafty Addicts
Crafty Friends
Dare 2B Artsy
Dragonfly Dreams
Get Creative
Jo's Scrap Shack
Southern Girls
Take It, Make It
Unicorn
Word Art Weds.

     That's it for today.  Happy Crafting.  NanaConnie

Tuesday, March 12, 2019

Go Fly a Kite

     I keep looking at the calendar (and the skies) to see how close we are to the official start of spring and, so far, the skies are winning and they definitely aren't clear and sunny!  Today we have  a lot of wind and overcast so maybe we should break out the kites and pretend it's spring.  :-D

     My card today has an image from Doodle Dragon and I thought he looked like he was going to fly his kite regardless.  Of course, I have to admit that a dragon flying a kite is a complete fantasy anyway.  lol


     I used my ProMarkers to color the image and cut it with a die from Spellbinders.  I also used a Spellbinders die on the sentiment but had to shift it around and make 2 cuts to get that shape and size.

     I mounted the image and sentiment onto a navy blue card base, tilting the image piece at an angle and trimming the two corners that overlapped the edges.  I added one of my signature bows which had been dyed with a ProMarker.  I also added a tiny button to the bow.

     Challenges:
Allsorts
Cardz TV
Colour Crazy
Crafty Calendar
Crafty Catz
Creative Fingers
Cute Card Thurs.
Cut It Up
Lil Patch of Crafty Friends
Outlawz PAM

     I have a second post that will be going live today so be sure to check back a bit later.  Happy Crafting.  NanaConnie

Friday, December 7, 2018

The Reindeer are Loose!

     It's Friday and we have a new challenge starting at QKR Stampede.   Our theme is always "Anything Goes" but I stayed with the Christmas theme I've been doing since the beginning of last month.  This time, I used an image from our sister brand, Eureka Stamps, and it's called "Jumping Reindeer ES3202."


     In order to get the sense of a team of Santa's reindeer, I used the image 3 times in a row.  I colored with ProMarkers and Copics, plus white gel ink.  I used a border die from Spellbinders to cut the image, then layered them onto polka dot paper from DCWV. 

     I wrapped that with red, grosgrain, ribbon and added a hand-sewn bow with a tiny button in  the middle.  I printed the silly sentiment because they do look like they ditched the sleigh and are off on a joyriding (joy flying?) trip without Santa.  :-D

     I used my "Linen" embossing folder on deep blue CS, then used that for the card front.  Simple, fun, and flat for mailing!

     Challenges:
Aud Sentiments
C.R.A.F.T.
Crafting from the Heart
Cute Card Thurs.
DL.ART
Double D
Outlawz Festive Fri.
Pammie's Inky Pinkies
Sasayaki Glitter
Time Out

     I hope we're going to see you playing along this week.  We do love being inspired by you!  Happy Crafting.  NanaConnie

Saturday, October 13, 2018

Autumn Leaves

     Well, it's definitely that time of year - the leaves are falling and covering the yard, and we must now rake them into piles and haul them off in bushel baskets.  Of course, the kids will have to jump into one or more of the piles before any such project can be finished.  Sorry, but it's one of the immutable laws of autumn.  :-D

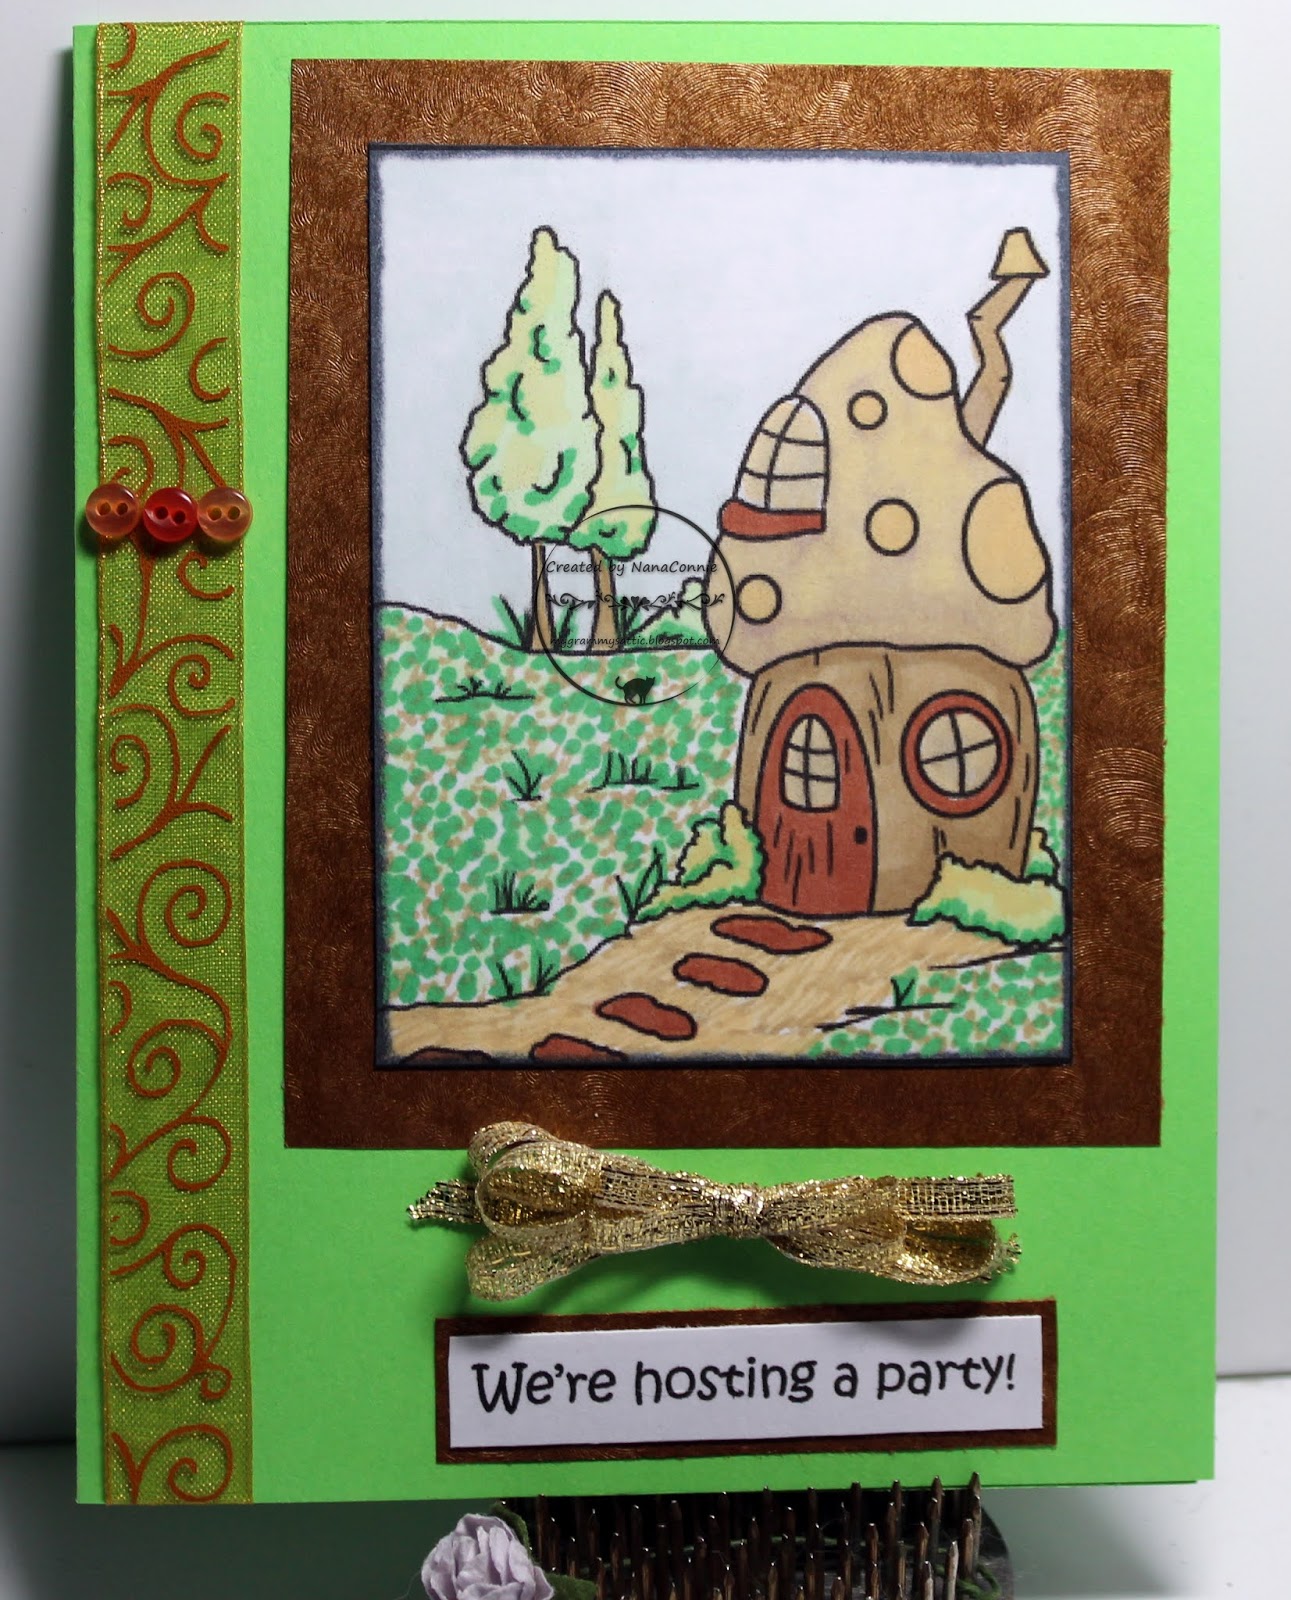
     I'm celebrating that with a lovely image from the Autumn Beauty set by Sparkle N Sprinkle.  I wanted to give you a link to the image but I can't locate the set in the store, in either rubber or digital.  :-(


     I colored with my ProMarkers and polychromos pencils, then cut the image with a stitched, scalloped die from Memory Box.  I used another die from that same set to cut the harvest gold mat for the image.  The sentiment is from that same set, printed onto a scrap, then I cut it with the die and trimmed it into a pie shape since the scrap was too small to be a full circle.

     I used a border die from Poppy Stamps to cut the curved line in a piece of antique yellow CS.  I added a scrap of polka dot dp (SU) which had also been cut with that same border die only this time it wasn't punched along the border.

     Everything was layered onto a burgundy card base.  My final touch was to embellish it with a hand-tied bow made from sheer ribbon and 'dyed' with a ProMarker.  I added the button to the middle of the bow and called the project finished.

     Challenges:
Addicted to Stamps
Cardz TV
Crafty Calendar
Crafty Friends
Creative Fingers
Lil Patch of Crafty Friends
Outlawz SAR
Polkadoodles
Stamping Sensations

     I'm heading back to the craft room to see what other damage I can do to my stash of supplies.  :-D  Happy Crafting.  NanaConnie

Tuesday, April 3, 2018

A Tulip Thank You

     I was in need of a quick "Thank You" card and this cute image from Bugaboo Stamps was perfect.  While I was planning it, I looked at the challenge theme from Catch the Bug and it was a recipe challenge: 1 button, 2 images, & 3 layers.


I was inspired by the sketch at Try Stampin' on Tuesday
but I flipped it so that I could use it horizontally.


     When I printed the image, I did it twice on leftover bits of white CS, reversing one of the images as I did it.  The sentiment is part of the image but I cut it off the reversed image so that it was only on the other side.  I colored with ProMarkers and cut one of the images with a simple rectangle die from Spellbinders.  I hand cut the other image so that I could merge it with the other image.

     A tiny bit of the cut off sentiment still showed so I decided that was where I'd put the button.  I search my collection of buttons, looking for a large one.  I laced it with a scrap of jute cord and tied that into a bow.  In my stash, I found the pink and tan, plaid paper and, even though it was only a scrap piece, I knew it would be perfect for the first background layer.  To make the second background layer, I mounted the plaid scrap onto ruby pink CS, and that gave me the 3 layers!  Voila' - fast and easy.

     Challenges:
Butterfly (Twine & Thistle)
Crafty Creations
Crafty Gals Corner
Everybody Art
Lemon Shortbread
Outlawz Twisted Thursday
Pixie's Snippets
Sisterhood of Crafters

     Thanks for visiting.   Feel free to browse around while you're here.  Happy Crafting.  NanaConnie

Tuesday, September 26, 2017

Halloween Ghouls

     This morning I have a fun, spooky Halloween card to share.  This is one of those 'git 'er done' cards that took very little time to make.  I think I spent more time planning the design than I did putting it together.


     No coloring on this one at all and the two main characters are buttons!  They add great dimension to the card.  The background is just a black card blank and I found a scrap of orange CS, trimmed it to size, wrapped it with an orange & black ribbon, and put it onto the card front.

     I used craft glue to adhere the button characters after adding the ribbon sentiment.  The bat & moon and the black cat are flat embellishments but they added a bit more interest to an otherwise CAS card.

     Challenges:
Aud Sentiments
Colour Crazy
C.R.A.F.T.
Crafty Friends
Creative Fingers
Cute Card Thurs
Everybody Art
Fussy and Fancy
Send a Smile 4 Kids
Take It, Make It

     Have yourself a fabulous day and Happy Crafting.  NanaConnie